sabato 10 maggio 2025

Day 2 in Torino

🇮🇹 Oggi è andato tutto a rotoli… Come vi abbiamo già raccontato pochi minuti prima della simulazione del lancio abbiamo incominciato a riscontrare dei problemi con il nostro sistema operativo, già sistemato alla meglio durante la notte (infatti abbiamo dovuto praticamente ricostruire tutto l’interno del CanSat). I problemi si sono accumulati e siamo riusciti a risolverne solo alcuni, come quello che costringeva l’ESP32 a resettarsi continuamente. Una volta sistemato abbiamo tristemente scoperto che il BNO aveva smesso di funzionare e l’unica copia che avevamo l’avevamo scordata in hotel, a 1h di bus da Infini.To. Abbiamo quindi deciso di arrangiarci e di provare solamente a trasmettere i dati della missione primaria, che infatti è andata benissimo, tuttavia abbiamo perso moltissimi punti a causa dell’assenza del BNO ma anche del GPS e della microSD, persi mentre provavamo a sistemare l’IMU, dato che i giudici ci avevano proposto di fare una dimostrazione quantomeno della presa dati, tuttavia non abbiamo avuto la possibilità di provare.

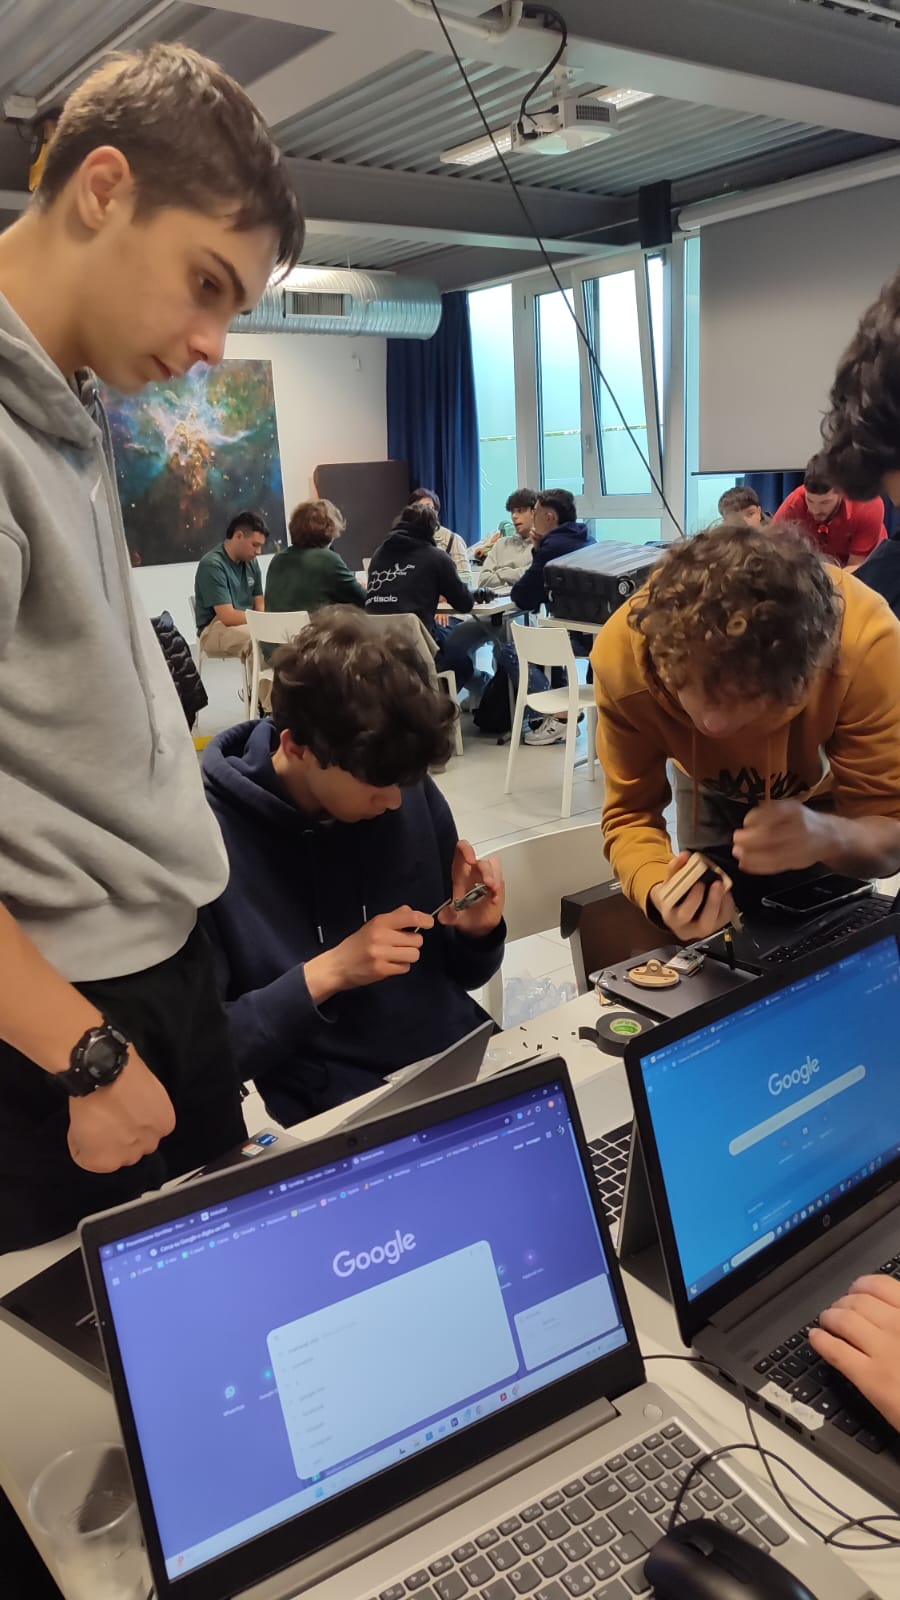
Adesso stiamo preparando il nuovo codice per prendere dei dati così da mostrare i calcoli per il nostro progetto e speriamo solo che tutto andrà per il meglio.


🇬🇧 Today everything fell apart... As we have already told you, a few minutes before the launch simulation we started to have some problems with our operating system that we had already fixed during the night (we had to assemble the CanSat again). The problems racked up and we could fix only some of them, like the one that forced the ESP32 to reset constantly. Then we unfortunately discovered that the BNO stopped working and we forgot he only working copy we had at the hotel that Is one hour from Infini.To. So we decided to make do and we tried to just transmit the data of the primary mission and it went well, but we lost a lot of points because of the absence of the BNO but also of the GPS and of the microSD card that we lost while we were trying to fix the IMU, because the judges proposed us to do at least a demonstration of how we would take the data, but we couldn't try to do that. Now we are making the new code to take some data so that we will be able to show out calculations for our project and we only hope that everything will be better from now on.


venerdì 9 maggio 2025

Day 1 in Torino

Day 1

🇮🇹 Da poco è finito il primo giorno a Torino. Siamo arrivati alle 16 alla stazione di Torino Porta Susa e, dopo alcuni problemi, siamo riusciti a raggiungere Infini.to - Planetario, Museo dell'Astronomia e dello Spazio usando due autobus (uno più grande e uno più piccolo). Là ci siamo riposati, abbiamo dato un'occhiata al museo (molto grande e interattivo) e ci hanno spiegato il nostro progetto per i prossimi giorni, nei quali faremo anche una simulazione di lancio del CanSat, che non verrà veramente lanciato in aria ma solo manovrato da un membro dello staff per testarne le funzionalità. Dopo abbiamo lavorato per un paio di ore al CanSat, per poi cenare e andare in hotel, dove abbiamo sistemato il nostro CanSat nella notte per prepararci per domani: il giorno del lancio.

Quindi seguiteci e pronti per nuove notizie!


🇬🇧 It's finished the first day in Torino. We arrived at 16 at the train station of Torino Porta Susa and, after some problems, we were been able to


mercoledì 7 maggio 2025

Software

Software di bordo

Il software di bordo è scritto in C++. Il software legge i dati dei vari sensori assieme al tempo di misurazione e riporta tutto nella schedina microSD. Inoltre i dati vengono inviati a terra tramite il modulo LoRa.

Non tutta l’elaborazione dei dati viene effettuata su Python, infatti il calcolo dell’angolo è eseguito in tempo reale sull’ESP32.


Software di Terra

Il software di terra è scritto in Python. Il codice legge i dati provenienti dall'antenna e li salva su un file csv. Successivamente il file csv viene convertito in un array e i dati riportati vengono elaborati per trovare la posizione in funzione del tempo a partire da i valori di accelerazione e velocitĂ  angolare forniti dall’IMU.


On-board software

The on-board software is written in C++. The software reads data of sensors with the measurement time and writes everything on the microSD card. The data are sent to the ground with LoRa.

Not all the elaboration of data is done on Python, the calculation of the angle is done in real time on the ESP32.


Ground software

The ground software is written in Python. The code reads data that comes from the antenna and it saves it on a csv file. The csv file will be converted into an array and the data will be analyzed to find the position based on the time from the acceleration and angular velocity values measured by the IMU. 


Radio

Moduli Radio

Il modulo radio LoRA che abbiamo scelto è il E220-900T22S in quanto è molto economico e ha un raggio di trasmissione e ricezione molto ampio. Ne abbiamo installato uno sul CanSat, per la trasmissione, mentre avremo un corrispettivo a terra, per la ricezione.

Antenne

Come antenna LoRa abbiamo scelto la QIQIAZI U.FL IPEX che ha una frequenza dichiarata compresa tra 868 e 915 MHz, un guadagno di 2 dBi.

Raggio di ricezione

Il raggio di ricezione dichiarato dal produttore è di 5 km, senza ostacoli tra il trasmettitore e il ricevitore. Noi abbiamo anche provato l'antenna alla cava del CentroParco di Segrate e abbiamo raggiunto un raggio di trasmissione e ricezione di 1,4 km, più di quello che ci servirà per il raggio, pari a 1 km.

Slot microSD

Grazie ad uno slot microSD montato sul circuito stampato del CanSat, possiamo salvare i dati anche su una microSD a bordo.

Radio modules

The LoRa radio module that we chose is the E220-900T22S because it’s very cheap and it has a very long transmission and reception range. We installed one of this on the CanSat, for the transmission, and other one at the ground, for the reception.

Antennas

We chose the antenna QIQIAZI U.FL IPEX that it has a declared frequency between 868 and 915 MHz and a reward of 2 dBi.


Reception range

The reception range declared by the productors is 5 km. We also tried the antenna at CentroParco of Segrate and we reach a transmission and reception range of 1.4 km, more of 1 km, the height of the launch.

MicroSD slot

We can save data also on a microSD on-board with a microSD slot on our PCB.


Circuito/Circuit


Circuito

Alimentazione

Il CanSat è alimentato tramite una batteria Li-ion con una capacitĂ  di 3000mAh e una tensione di 3,7V. Il consumo medio di corrente del CanSat è di circa 300mA. Per poter alimentare l'elettronica di bordo, bisogna aumentare la tensione a 5V. Per fare ciò utilizziamo uno step-up booster, che riceve 3,7V in entrata e fornisce 5V in uscita. Inoltre la batteria si ricarica usando un USB-C. 

Computer di bordo

Il computer di bordo che utilizzeremo nel nostro CanSat è un ESP32 WROOM, che ha il compito di raccogliere i dati tramite i sensori e di inviarli alla stazione di terra tramite la radio LoRa. Tra tutti i microcontrollori abbiamo scelto proprio questo, poiché è leggero, ha piccole dimensioni, è semplice da usare e programmare, consuma poco ma soprattutto, è più veloce, ha più memoria e pin e ha un maggior potere computazionale.

Sensori e G.P.S.

L’IMU utilizzato è il BNO055 di marca Adafruit che misura tre componenti dell'accelerazione, sia senza che con il vettore gravità, tre componenti della velocità angolare e i tre angoli, detti di Eulero, che servono a descrivere l’orientazione nello spazio. Inoltre, sono presenti quattro sensori BME280 di Bosch, che misurano pressione, temperatura e umidità. Questi sensori sono necessari per la missione primaria e la scelta di utilizzare quattro di questi dispositivi, è dovuta non solo alla necessità di ridondanza, ma anche per garantire delle misurazioni corrette.


BNO055 BME280 PA1010D

Protocolli di comunicazione

I protocolli di comunicazione sono: I2C, TTL e SPI. Ecco una lista dei protocolli di comunicazione di ogni sensore, per quanto riguarda l’ESP abbiamo inserito “tutti” come protocollo, in quanto è in grado di comunicare con tutti i protocolli degli altri componenti presenti.


COMPONENTE

PROTOCOLLO

IMU

I2C

Termometro/Barometro

I2C

ESP

Tutti

MicroSD card

SPI

GNSS

TTL o SPI

Radio LoRa

TTL

Sistema Salvataggio

SPI

USB-C Port

USB

Schema di circuito


Per una visione dettagliata degli schemi elettrici dei progetti dei circuiti stampati sono riportati di seguito i collegamenti ipertestuali ai file originali:


GyroMap PCB TOP

GyroMap Schematica TOP

GyroMap PCB BOTTOM

GyroMap Schematica BOTTOM


Circuit

Power supply

The CanSat is powered with a Li-Ion battery with a capacity of 3000 mAh and a tension of 3.7 V. The average use of electricity is of 300 mA. To power the electronics on board, we have to increase the tension to 5 V. To do this we use a step-up booster, that receives 3.7 V and releases 5 V. The battery is recharged by a USB-C. 

On-board computer

The on-board computer we will use in our CanSat is an ESP32 WROOM, that has the task of taking data with the sensors and sending them to the ground. We chose this one out of all of the microcontrollers because is small, light, it is simple to use, it doesn’t use a lot of energy, it’s faster, has more much RAM and pin and it has a bigger computational power.

Sensors and G.P.S.

The IMU used is the BNO055 of Adafruit that measures three components of the acceleration, three components of the angular speed and the three angles of Eulero, that describe the orientation in the space. There are four sensors BME280 of Bosch, that measure pression, temperature and humidity. These sensors are necessary for the first mission and we chose to use four of these not only for the redundancy, but also to guarantee correct measures.


BNO055 BME280 PA1010D

Communication protocols

The communication protocols are: I2C, TTL and SPI. This is a list of our protocols for every sensor. For the ESP we wrote “All” because it can communicate with all protocols of other components.


COMPONENTS

PROTOCOLS

IMU

I2C

Thermometer/Barometer

I2C

ESP

All

MicroSD card

SPI

GNSS

TTL o SPI

Radio LoRa

TTL

MicroSD slot

SPI

USB-C Port

USB

Schema di circuito


2


For a detailed vision of electric diagrams these are the links for original files:


GyroMap PCB TOP

GyroMap Schematic TOP

GyroMap PCB BOTTOM

GyroMap Schematic BOTTOM


Day 2 in Torino

🇮🇹 Oggi è andato tutto a rotoli… Come vi abbiamo già raccontato pochi minuti prima della simulazione del lancio abbiamo incominciato a ris...